はじめての Vagrant シリーズVagrant + Chef ベースのWordpress Theme / Plugin 開発環境「VCCW」
はじめに
VCCWはVagrant + Chef ベースのWordpressのプラグイン / テーマ開発環境です。VagrantとVirtualBoxをインストールすればコマンド数回で仮想マシンが立ち上がり便利なWordpress開発環境ができあがります。ローカルのXAMPPやLAMPを卒業したい、そんな方にお勧めです。
動作環境
VCCWはVagrant 1.5以上、VirtualBox 4.3以上が必要です。コマンドラインで操作することになるので、あまりコマンドラインを使った経験のないデザイナーさんには敷居が高いかもしれません。
VCCWでできること
公式サイトの箇条書きを抜き出してきただけですが、下記のようなことができます。設定ファイル(Vagrantfile)を書き換えるだけで変更もできます。
- コンフィグファイルによる設定変更(Vagrantfile)
- マルチサイト
- 管理画面のSSL接続
- サブディレクトリインストール(http://wordpress.local/wp/)
- カスタマイズ可能なURL(http://wordpress.local/)
- デバッグモード(defalt enabled)
- SSL(defalt enabled)
- 自動インストール
- プラグインのアクティベート
- Unitテストデータのインポート
- ツールのプリインストール
- WP-CLI
- Grunt
- Composer
- Wordpress i18n Tools
- PHPUnit
- Wordpress Unit Tests
- PHP_CodeSniffer
- WordPress Coding Standards for PHP_CodeSniffer
- Wordpressフォルダのシェア(ホスト・ゲストOS間)
環境構築
公式に掲載されている通りですが、大まかな流れはこんな感じです。
- VirtualBoxのインストール
- Vagrantのインストール
- ホスト設定を書き換えるvagrant-hostsupdaterのインストール
- VCCW本体のクローン
- テスト用ディレクトリの作成
- Vagrantfile(設定ファイル)のコピーと修正
- Vagrantの初期構築と立ち上げ
- ブラウザで確認
それでは進めていましょう。
VirtualBoxとVagrantのインストール
VirtualBoxとVagrantのインストールは前回の記事を参考にしてください。どちらもインストーラーが用意されているので簡単です。
vagrant-hostsupdater pluginのインストール
vagrant-hostsupdaterは仮想マシン(ゲストOS)を起動した際に、ホストOS(つまりは自身のMac/Windows OS)のHostsファイルにゲストOSのホスト名やIPを追加・削除しホストOSのブラウザからアクセスできるようにしてくれるプラグインです。
vagrant-hostsupdaterはroot権限を求められる処理を行います。ですので$ vagrant upを行った際はパスワードを求められます。一番注意しなければならないのは必ず$ vagrant haltで終了しないとHostsの情報が削除されません。注意しましょう。
$ vagrant plugin install vagrant-hostsupdater
Installing the 'vagrant-hostsupdater' plugin. This can take a few minutes...
Installed the plugin 'vagrant-hostsupdater (0.0.11)'!
githubからVCCWをクローンする
続いて、VCCWをローカルに落としてきましょう。適当にプロジェクトフォルダを作成し、その中でクローンするのが良いと思います。
$ cd vccw.example/
$ git clone git@github.com:miya0001/vccw.git
...
$ cd vccw/
クローンされたVCCW
クローンできたらvccwのディレクトリに何が入っているかチェックしておきましょう。この中で実際に触るのはVagrantfile.sampleのみです。
vccw/
├── README.md
├── Vagrantfile.sample
├── cookbooks/
└── site-cookbooks/
VagrantfileをVagrantfile.sampleから作る
Vagrantfile.sampleはVagrantfileを作るためのひな形です。コピーしてVagrantfileを作ります。
$ cp Vagrantfile.sample Vagrantfile
Vagrantfileを修正
デフォルトのままでも立ち上がりますが、そのままだと英語版がインストールされます。そこでWP_LANG = "en_US" # WordPress locale (e.g. ja)の部分をWP_LANG = "ja" # WordPress locale (e.g. ja)に変更しましょう。もちろん読めばすぐにわかるような設定ばかりなので必要に応じて変更しましょう。
# encoding: utf-8
# vim: ft=ruby expandtab shiftwidth=2 tabstop=2

VAGRANTFILE_API_VERSION = "2"
Vagrant.require_version ">= 1.5"

#
# Configuration for the WordPress
#

VM_BOX               = "chef/centos-6.5-i386" # for 32bit
# VM_BOX               = "chef/centos-6.5" # for 64bit

WP_VERSION           = 'latest' # latest or 3.4 or later or http(s):// URL to zipfile
WP_LANG              = "ja_JP" # WordPress locale (e.g. ja)

WP_HOSTNAME          = "wordpress.local" # e.g example.com
WP_IP                = "192.168.33.10" # host ip address

WP_TITLE             = "Welcome to the Vagrant" # title
WP_ADMIN_USER        = "admin" # default user
WP_ADMIN_PASS        = "admin" # default user's password

WP_DB_PREFIX         = 'wp_' # Database prefix
WP_DB_HOST           = 'localhost' # or WP_IP and other
WP_DB_NAME           = 'wordpress'
WP_DB_USER           = 'wordpress'
WP_DB_PASS           = 'wordpress'

WP_DEFAULT_PLUGINS   = %w(theme-check plugin-check dynamic-hostname) # default plugins
WP_DEFAULT_THEME     = '' # e.g. twentythirteen

WP_DIR               = '' # e.g. /wp or wp or other
WP_IS_MULTISITE      = false # enable multisite when true
WP_FORCE_SSL_ADMIN   = false # enable force ssl admin when true
WP_DEBUG             = true # enable debug mode
WP_SAVEQUERIES       = false # save the database queries to an array
WP_THEME_UNIT_TEST   = false # automatic import theme unit test data

WP_ALWAYS_RESET      = true # always reset database

WP_CHEF_COOKBOOKS_PATH = File.dirname(__FILE__) # path to the cookbooks (e.g. ~/vccw)

if WP_LANG === 'ja' then
  WP_THEME_UNIT_TEST_DATA_URI = 'https://raw.githubusercontent.com/jawordpressorg/theme-test-data-ja/master/wordpress-theme-test-date-ja.xml'
else
  WP_THEME_UNIT_TEST_DATA_URI = 'https://wpcom-themes.svn.automattic.com/demo/theme-unit-test-data.xml'
end

# end configuration
仮想マシンの立ち上げ
初回起動時はChefが走り環境構築が行われているので5分程度の時間がかかります。
$ vagrant up
Bringing machine 'default' up with 'virtualbox' provider...
==> default: Importing base box 'chef/centos-6.5-i386'...
==> default: Matching MAC address for NAT networking...
==> default: Checking if box 'chef/centos-6.5-i386' is up to date...
ブラウザからアクセスする
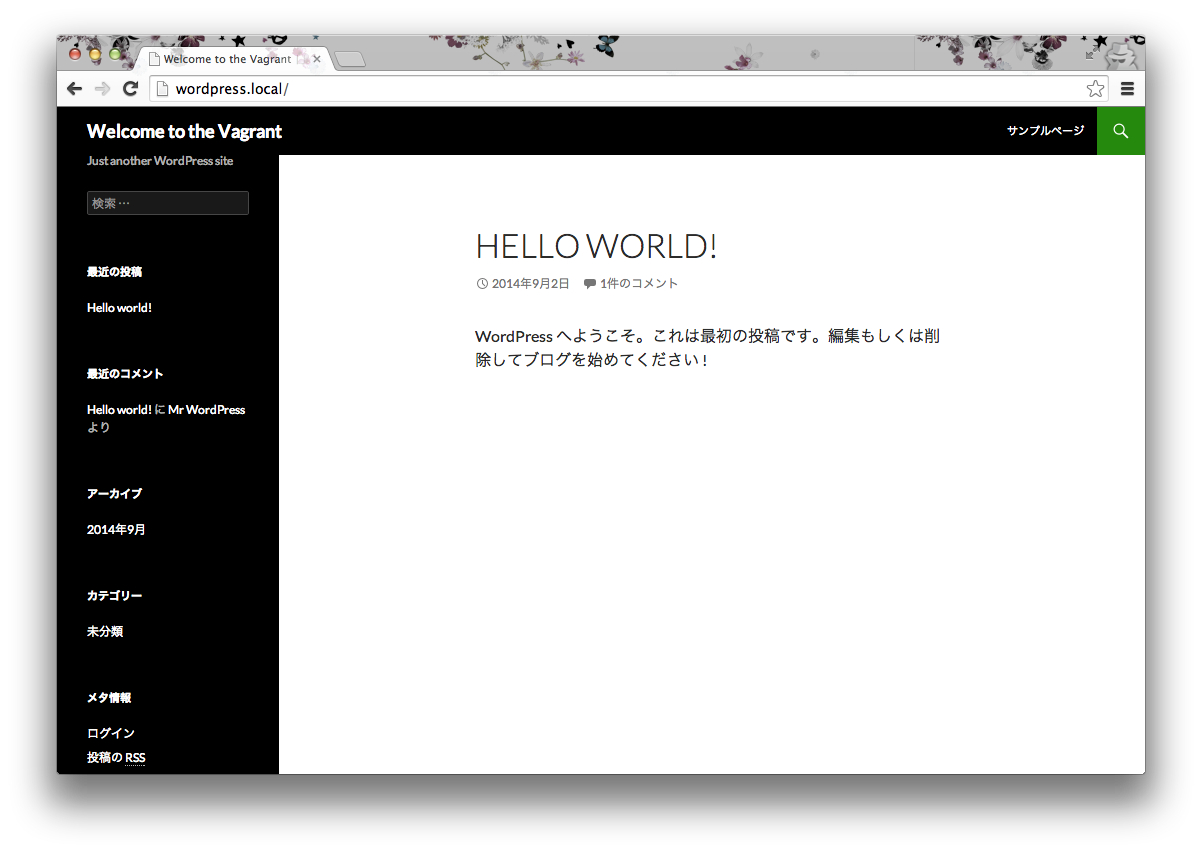
それでは、ブラウザからサイトにアクセスしてみましょう。URLを変更していなければhttp://wordpress.local/でアクセスできます。ブラウザでアクセスできていれば構築完了です。
仮想マシンの終了
仮想マシンの終了は忘れずに行いましょう。終了時もHostsの変更が行われroot権限が必要なのでパスワード入力が求められます。
$ vagrant halt
==> default: Attempting graceful shutdown of VM...
==> default: Removing hosts
Password:
ローカル環境を汚さずにこれだけ早く環境構築できるのはとても便利ですね。以上、VCCWの紹介でした。
エラーが起こったら
起動中に怒られたらこちらを参考にしてみてください。
シリーズ
- Vagrant + Chef ベースのWordpress Theme / Plugin 開発環境「VCCW」
- Vagrantの最初の一歩
- GruntでWordpressテーマの開発環境を作る