これからはじめる Gulp シリーズこれからはじめるGulp(24):gulp.spritesmithプラグインでSpriteイメージを作る
はじめに
この記事はGulp.js(全俺) Advent Calendar 2014です。
前回のこれからはじめるGulp(23):gulp-consolidateでgulp-iconfontで作ったアイコンフォントのシンボル一覧HTMLを作るでgulp-consolidateを使ったアイコン一覧を確認できるHTMLを作りました。今回は前回のデザインデータをもとにgulp-spritesmithを使って矢印のアイコンのSpriteイメージを作ります。
gulp.spritesmithについて
gulp.spritesmithはSprite画像とCSSを生成できるプラグインです。Sprite画像の生成にはspritesmithを利用しています。
デザインデータ
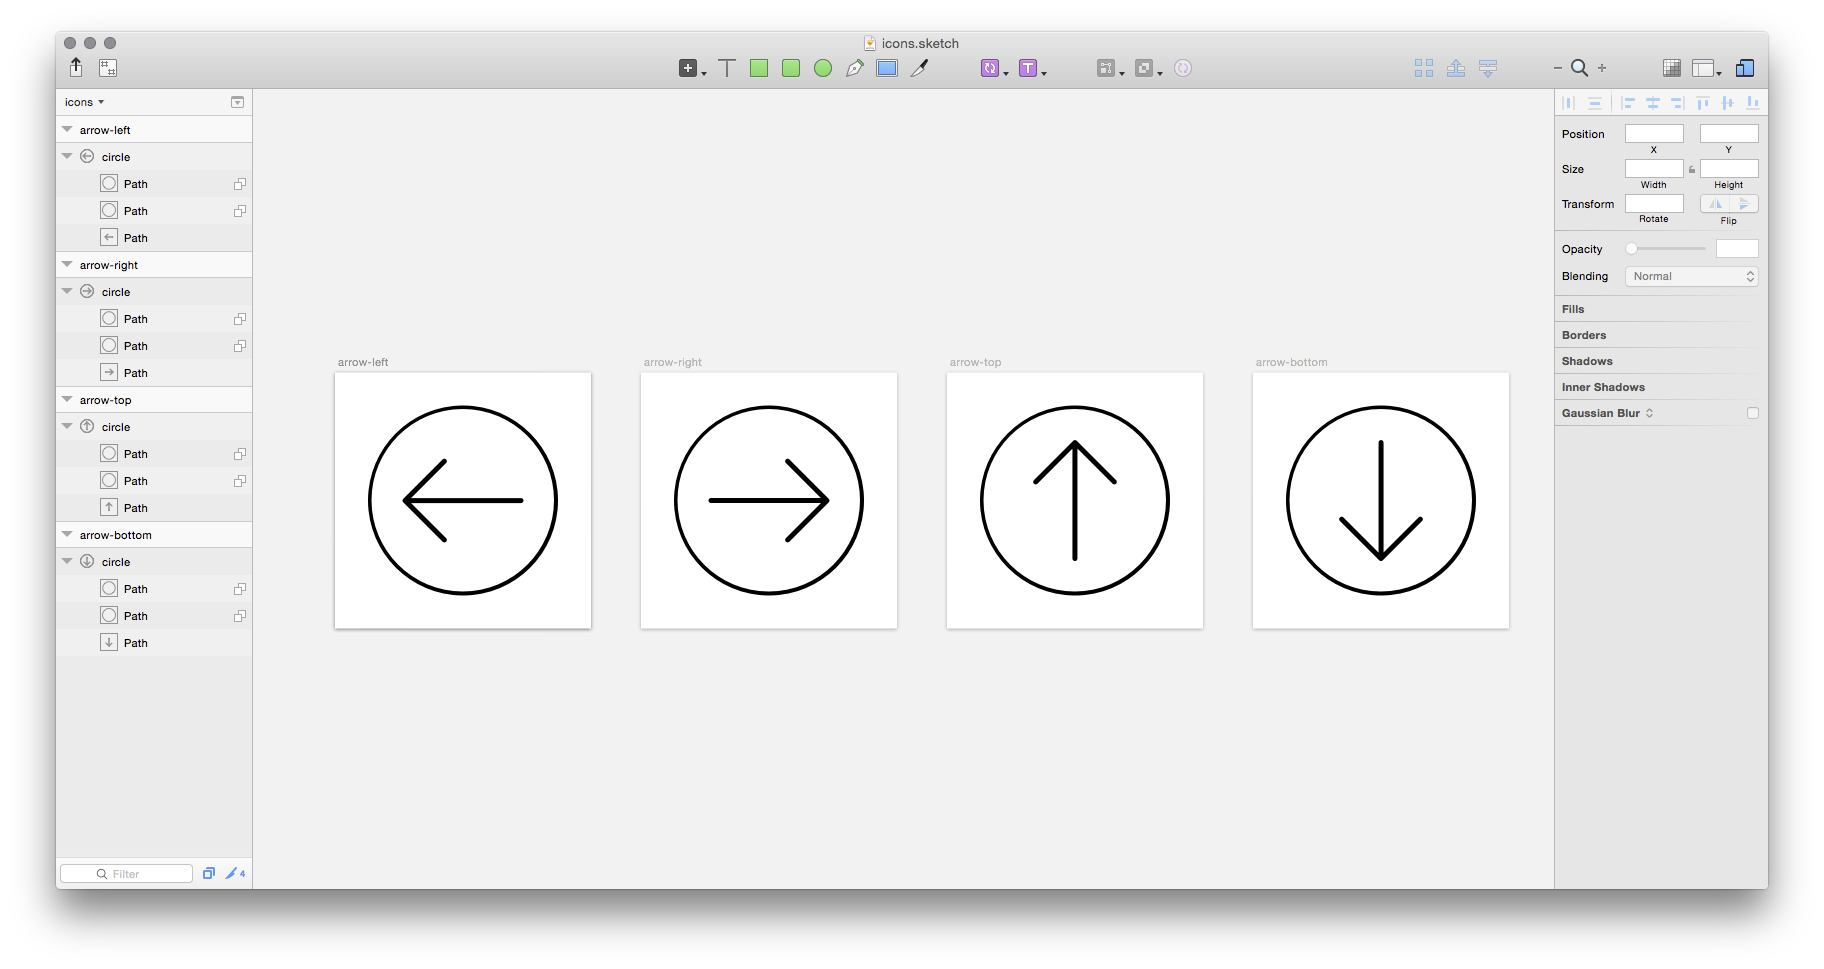
前回も使った4つの矢印アイコンを含んだデザインデータを流用します。
プラグインとモジュールのインストール
必要なプラグインとモジュールをインストールします。
spritesmithのインストール
$ sudo npm install spritesmith --save-dev
npm WARN engine pngjs@0.4.0: wanted: {"node":"0.8.x"} (current: {"node":"0.10.32","npm":"2.1.14"})
spritesmith@1.0.3 node_modules/spritesmith
├── async@0.2.10
├── layout@2.0.2 (binpacking@0.0.1)
└── pixelsmith@1.0.0 (obj-extend@0.1.0, async@0.9.0, ndarray@1.0.16, concat-stream@1.4.7, save-pixels@2.2.0, get-pixels@3.1.0)
gulp.spritesmith
$ sudo npm install gulp.spritesmith --save-dev
gulp.spritesmith@2.4.0 node_modules/gulp.spritesmith
├── underscore@1.6.0
├── through2@0.6.3 (xtend@4.0.0, readable-stream@1.0.33)
├── spritesheet-templates@8.2.0 (json-content-demux@0.1.3, underscore@1.4.4, mustache@0.7.3)
├── gulp-util@2.2.20 (lodash._reinterpolate@2.4.1, minimist@0.2.0, vinyl@0.2.3, chalk@0.5.1, through2@0.5.1, lodash.template@2.4.1, multipipe@0.1.2, dateformat@1.0.11)
└── url2@1.0.3 (url@0.7.9)
アイコンをpngで書き出す
まずはアイコンをpng形式で書き出すタスクを用意します。
sketch:iconsタスク
var gulp        = require('gulp');
var sketch      = require('gulp-sketch');
var sprite      = require('gulp.spritesmith');

var paths = {
  srcDir : 'assets',
  dstDir : 'assets',
}

gulp.task('sketch:icons', function(){
  var srcGlob    = paths.srcDir + '/_design/icons.sketch';
  var dstGlob    = paths.dstDir + '/icons';

  var sketchOptions = {
    export : 'artboards',
    formats: 'png'
  }

  return gulp.src( srcGlob )
    .pipe(sketch( sketchOptions ))
    .pipe(gulp.dest( dstGlob ));
});
sketch:iconsタスクの実行
このタスクを実行するとassets/iconsフォルダに4つのアイコンが書き出されます。
$ gulp sketch:icons
[17:39:20] Using gulpfile ~/Projects/Labs/iconfont.gulp/gulpfile.js
[17:39:20] Starting 'sketch:icons'...
[17:39:20] Finished 'sketch:icons' after 5.74 ms
Spriteイメージ
SpriteイメージとCSSを生成するタスクを作ります。
spriteタスク
sketch:iconsタスクの後に同期処理させます。一般的なプラグインと違うのはStreamを変数に入れ、CSSとIMGメソッドに対してそれぞれgulp.dest()を行います。
gulp.task('sprite', ['sketch:icons'], function(){
  var srcGlob    = paths.srcDir + '/icons/*.png';
  var dstImgGlob = paths.dstDir + '/img';
  var dstCssGlob = paths.dstDir + '/css';

  var spriteOptions = {
    imgName : 'sprite.png',
    cssName : 'sprite.css'
  }

  var spriteData = gulp.src( srcGlob )
    .pipe(sprite( spriteOptions ));

  spriteData.css
    .pipe(gulp.dest( dstCssGlob ));

  spriteData.img
    .pipe(gulp.dest( dstImgGlob ));
});
タスクを実行する
タスクを実行するとアイコンが1つになったSprite画像が作られます。
$ gulp sprite
[18:28:56] Using gulpfile ~/Projects/Labs/iconfont.gulp/gulpfile.js
[18:28:56] Starting 'sketch:icons'...
[18:28:56] Finished 'sketch:icons' after 5.73 ms
[18:28:56] Starting 'sprite'...
[18:28:56] Finished 'sprite' after 2.7 ms
![]()
オプション
gulp.spritesmithのオプションをいくつか試してみます。
フォーマットをSCSSにする
gulp.spritesmithのcssNameオプションに拡張子を.scssで指定することで、SCSSにすることができます。
  var spriteOptions = {
    imgName : 'sprite.png',
    cssName : 'sprite.scss'
  }
出力されるSCSSはこのようになっています。
/*
SCSS variables are information about icon's compiled state, stored under its original file name

.icon-home {
  width: $icon-home-width;
}

The large array-like variables contain all information about a single icon
$icon-home: x y offset_x offset_y width height total_width total_height image_path;

At the bottom of this section, we provide information about the spritesheet itself
$spritesheet: width height image $spritesheet-sprites;
*/
$arrow-bottom-name: 'arrow-bottom';
$arrow-bottom-x: 0px;
$arrow-bottom-y: 0px;
$arrow-bottom-offset-x: 0px;
$arrow-bottom-offset-y: 0px;
$arrow-bottom-width: 512px;
$arrow-bottom-height: 512px;
$arrow-bottom-total-width: 1024px;
$arrow-bottom-total-height: 1024px;
$arrow-bottom-image: 'sprite.png';
$arrow-bottom: 0px 0px 0px 0px 512px 512px 1024px 1024px 'sprite.png' 'arrow-bottom';
$arrow-left-name: 'arrow-left';
$arrow-left-x: 512px;
$arrow-left-y: 0px;
$arrow-left-offset-x: -512px;
$arrow-left-offset-y: 0px;
$arrow-left-width: 512px;
$arrow-left-height: 512px;
$arrow-left-total-width: 1024px;
$arrow-left-total-height: 1024px;
$arrow-left-image: 'sprite.png';
$arrow-left: 512px 0px -512px 0px 512px 512px 1024px 1024px 'sprite.png' 'arrow-left';
$arrow-right-name: 'arrow-right';
$arrow-right-x: 0px;
$arrow-right-y: 512px;
$arrow-right-offset-x: 0px;
$arrow-right-offset-y: -512px;
$arrow-right-width: 512px;
$arrow-right-height: 512px;
$arrow-right-total-width: 1024px;
$arrow-right-total-height: 1024px;
$arrow-right-image: 'sprite.png';
$arrow-right: 0px 512px 0px -512px 512px 512px 1024px 1024px 'sprite.png' 'arrow-right';
$arrow-top-name: 'arrow-top';
$arrow-top-x: 512px;
$arrow-top-y: 512px;
$arrow-top-offset-x: -512px;
$arrow-top-offset-y: -512px;
$arrow-top-width: 512px;
$arrow-top-height: 512px;
$arrow-top-total-width: 1024px;
$arrow-top-total-height: 1024px;
$arrow-top-image: 'sprite.png';
$arrow-top: 512px 512px -512px -512px 512px 512px 1024px 1024px 'sprite.png' 'arrow-top';
$spritesheet-width: 1024px;
$spritesheet-height: 1024px;
$spritesheet-image: 'sprite.png';
$spritesheet-sprites: $arrow-bottom $arrow-left $arrow-right $arrow-top;
$spritesheet: 1024px 1024px 'sprite.png' $spritesheet-sprites;

/*
The provided mixins are intended to be used with the array-like variables

.icon-home {
  @include sprite-width($icon-home);
}

.icon-email {
  @include sprite($icon-email);
}
*/
@mixin sprite-width($sprite) {
  width: nth($sprite, 5);
}

@mixin sprite-height($sprite) {
  height: nth($sprite, 6);
}

@mixin sprite-position($sprite) {
  $sprite-offset-x: nth($sprite, 3);
  $sprite-offset-y: nth($sprite, 4);
  background-position: $sprite-offset-x  $sprite-offset-y;
}

@mixin sprite-image($sprite) {
  $sprite-image: nth($sprite, 9);
  background-image: url(#{$sprite-image});
}

@mixin sprite($sprite) {
  @include sprite-image($sprite);
  @include sprite-position($sprite);
  @include sprite-width($sprite);
  @include sprite-height($sprite);
}

/*
The `sprites` mixin generates identical output to the CSS template
  but can be overridden inside of SCSS

@include sprites($spritesheet-sprites);
*/
@mixin sprites($sprites) {
  @each $sprite in $sprites {
    $sprite-name: nth($sprite, 10);
    .#{$sprite-name} {
      @include sprite($sprite);
    }
  }
}
フォーマットを詳しく指定したい場合はspritesheet-templatesを参考にcssFormatオプションを指定します。
Spritesheet名を指定する
SCSSの場合、Mixinから呼び出すためのSpritesheetNameを指定した方が使い勝手が良いです。これはcssSpritesheetNameオプションで指定できます。
  var spriteOptions = {
    imgName   : 'sprite.png',
    cssName   : 'sprite.scss',
    cssFormat : 'scss_maps',
    cssOpts: {
      functions: false
    },
    cssSpritesheetName: 'icon-arrow'
  }
生成されたSCSSのSpritesheet名は以下のようになります。
$icon-arrow: (
  width: 2048px,
  height: 2048px,
  image: 'sprite.png',
  sprites: $arrow-bottom $arrow-left $arrow-right $arrow-top
);
mixinsを除外する
cssOptsオプションのfunctionsをfalseにすることで@mixin sprites()等を除外し変数のみのSCSSを生成することができます。
  var spriteOptions = {
    imgName : 'sprite.png',
    cssName : 'sprite.scss',
    cssFormat : 'scss_maps',
    cssOpts: {
      functions: false
    }
  }
Spriteイメージの並び(algorithm)を指定する
algorithmとalgorithmOptsオプションでイメージの並びやソートを指定することができます。Algorithmsについてはこちらに詳しく記載されています。
  var spriteOptions = {
    imgName   : 'sprite.png',
    cssName   : 'sprite.scss',
    cssFormat : 'scss_maps',
    cssOpts: {
      functions: false
    },
    cssSpritesheetName: 'icon-arrow',
    algorithm     : 'diagonal',
    algorithmOpts : {
      sort: false
    }
  }
algorithm: 'diagonal',で生成されたSprite画像がこちらです。

CSSを細かく制御したい場合
CSSを細かく制御するにはTemplatingを利用します。spritesheet-templatesに記載されているようなテンプレートを作成することで出力されるCSSを完全に制御できます。
Spriteイメージの作成はgulp.spritesmithで決まりですね。明日はサブディレクトリに対応したgulp-sketchを使って書き出を行いSpriteイメージ・アイコンフォントの生成を行う一連のタスクを作ってみたいと思います。
シリーズ
- これからはじめるGulp(0):アドベントカレンダースケジュール
- これからはじめるGulp(1):bundler, rbenv, nodebrewでGulp環境を作ってみる
- これからはじめるGulp(2):gulp-sassを使ってSCSSをコンパイルするタスクを作ってみる
- これからはじめるGulp(3):gulp.watchでファイルの変更を監視しタスクを実行する
- これからはじめるGulp(4):gulp-connectモジュールを使ったローカルサーバの起動
- これからはじめるGulp(5):gulp-connectモジュールを使ったLiveReload
- これからはじめるGulp(6):gulp-plumberとgulp-notifyを使ったデスクトップ通知
- これからはじめるGulp(7):require-dirモジュールを使ったタスク単位のファイル分割
- これからはじめるGulp(8):delモジュールとvinyl-pathsモジュールを使ったファイルの削除
- これからはじめるGulp(9):Ruby版Sassが使えるgulp-ruby-sassへの乗り換え
- これからはじめるGulp(10):deprecatedになっていたgulp-connectからgulp-webserverへ乗り換える
- これからはじめるGulp(11):ブラウザ間でスクロールやクリック操作を同期できるBrowserSync
- これからはじめるGulp(12):gulp-imageminプラグインを使ったJPEG,PNG,GIF,SVGの最適化
- これからはじめるGulp(13):gulp-changedプラグインで変更されたファイルだけを処理させる
- これからはじめるGulp(14):gulp-cachedプラグインで変更されたSCSSファイルだけを処理させる
- これからはじめるGulp(15):gulp-responsiveプラグインを使ったレスポンシブイメージ作成の自動化
- これからはじめるGulp(16):gulp-image-resizeプラグインを使ってサムネイルやレスポンシブイメージを作る
- これからはじめるGulp(17):SketchTool(Sketch 3 command line tool)を使ったアートボード・スライスの書き出しとgulp-execプラグインを使ったSketchtoolの呼び出し
- これからはじめるGulp(18):SketchToolで何ができるのかコマンドと主要なオプションを使ってみる
- これからはじめるGulp(19):gulp-sketchとgulp-execを使ったSketch 3デザインデータの画像書き出し
- これからはじめるGulp(20):Node.jsのChild Processモジュールを使ってgulpからjekyllのbuildコマンドを実行する
- これからはじめるGulp(21):gulp-awspublishプラグインを使ったAmazon S3への静的Webサイトパブリッシュ
- これからはじめるGulp(22):gulp-iconfontとgulp-sketchを使ったアイコンフォント作成の自動化
- これからはじめるGulp(23):gulp-consolidateでgulp-iconfontで作ったアイコンフォントのシンボル一覧HTMLを作る
- これからはじめるGulp(24):gulp.spritesmithプラグインでSpriteイメージを作る
- これからはじめるGulp(25):Hologramとgulp-hologramでスタイルガイドを作る
- これからはじめるGulp(26):Sketch3のサブディレクトリ書き出しに対応したgulp-sketchを試す